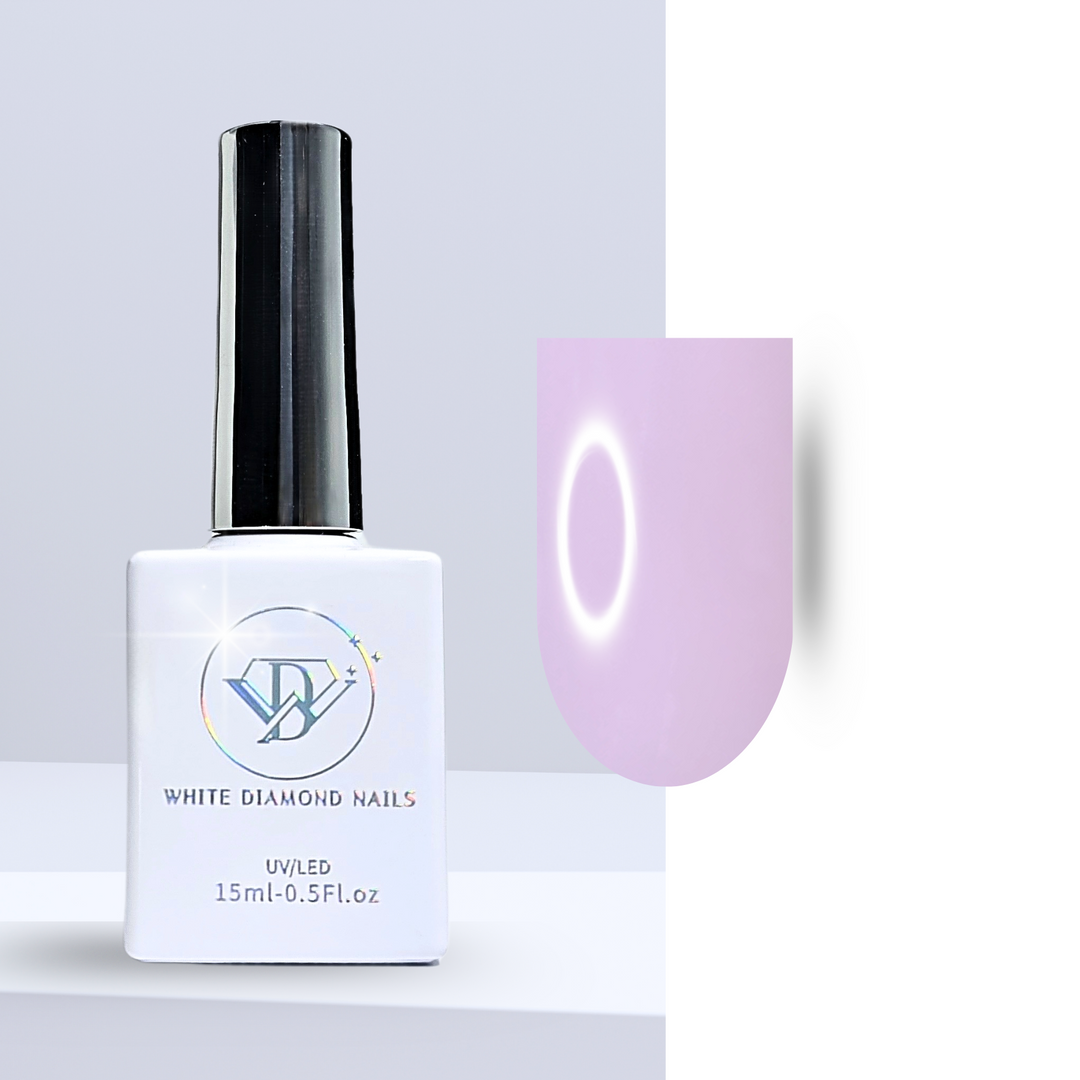
GEL POLISH - 134 PLUM PARADISE
- Free shipping over $69
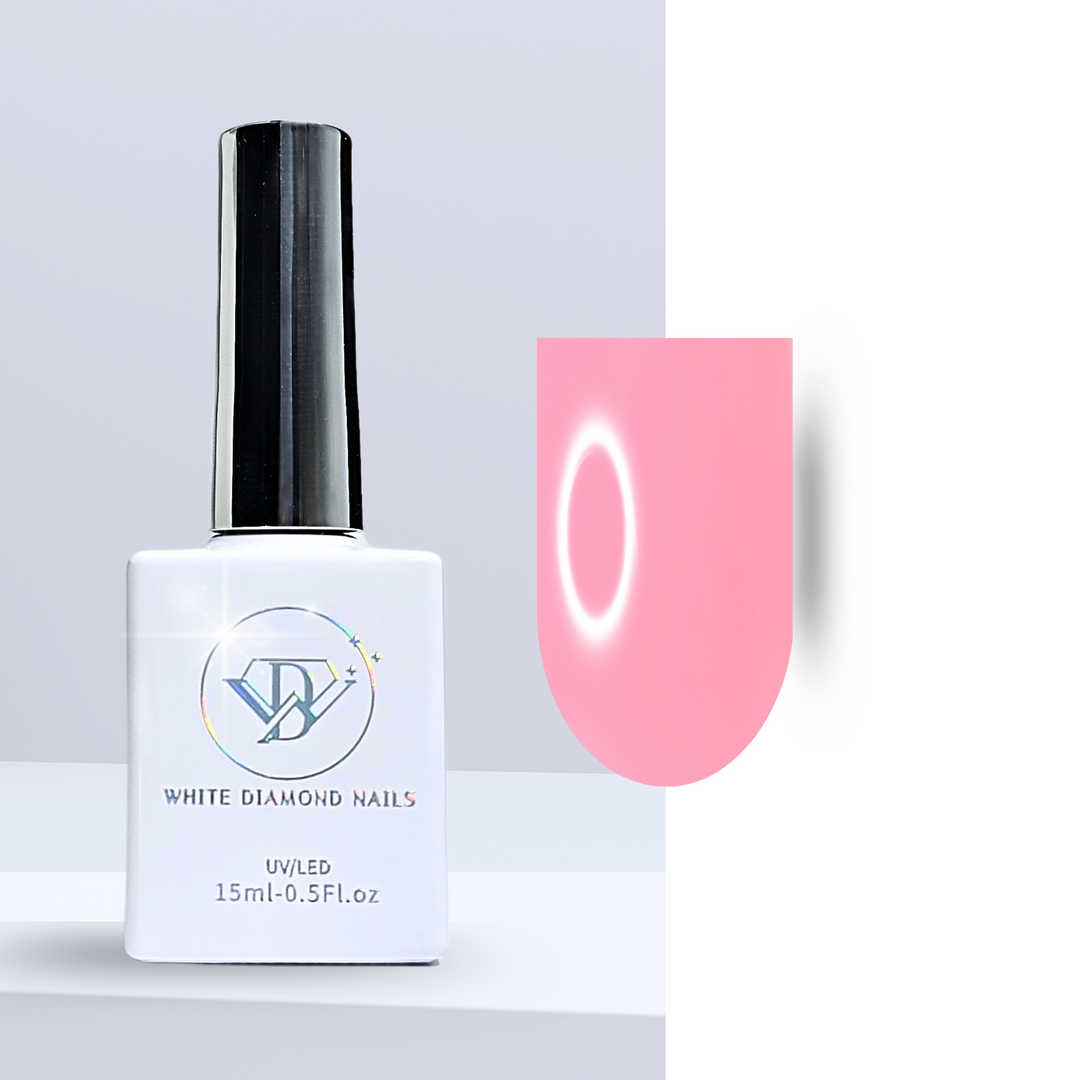
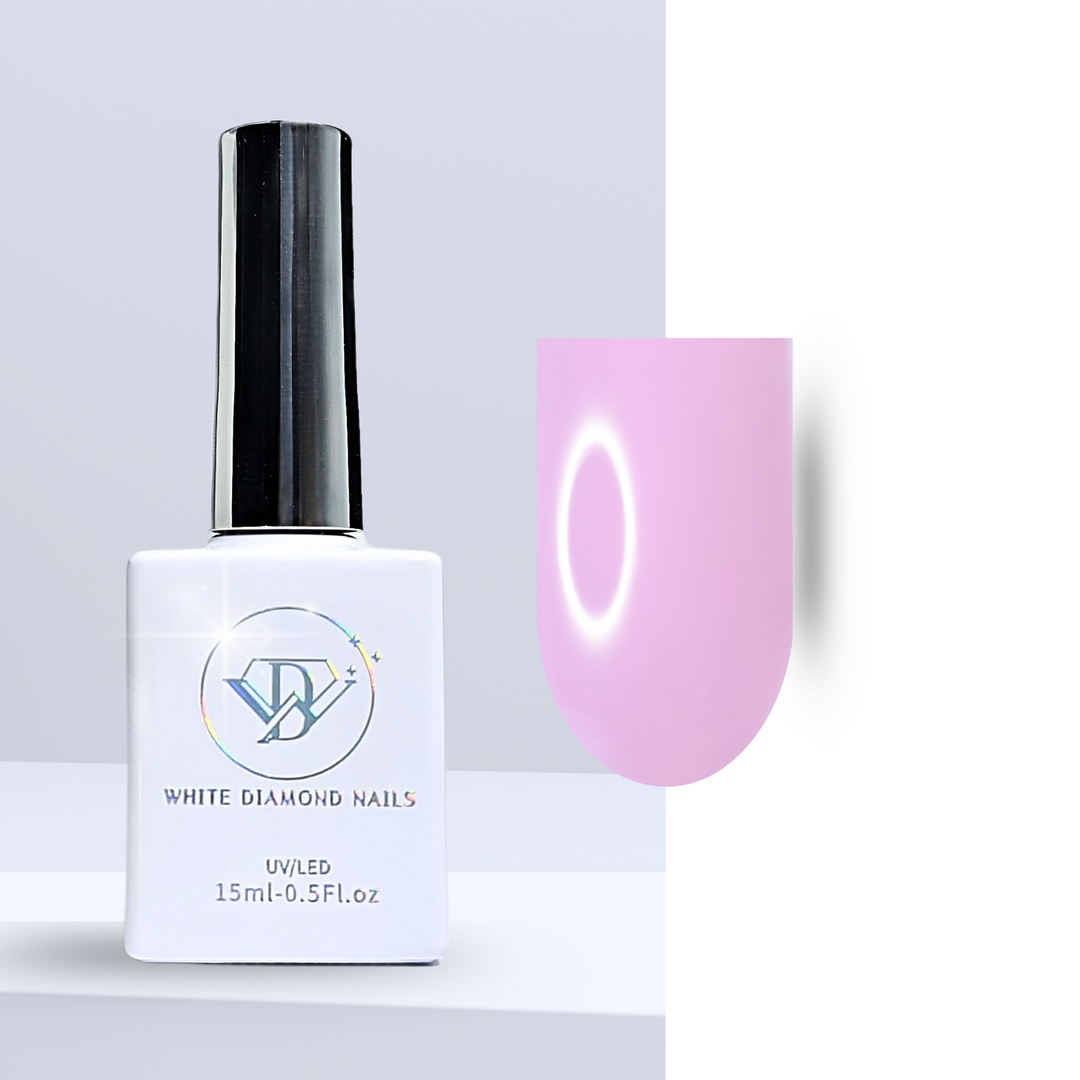
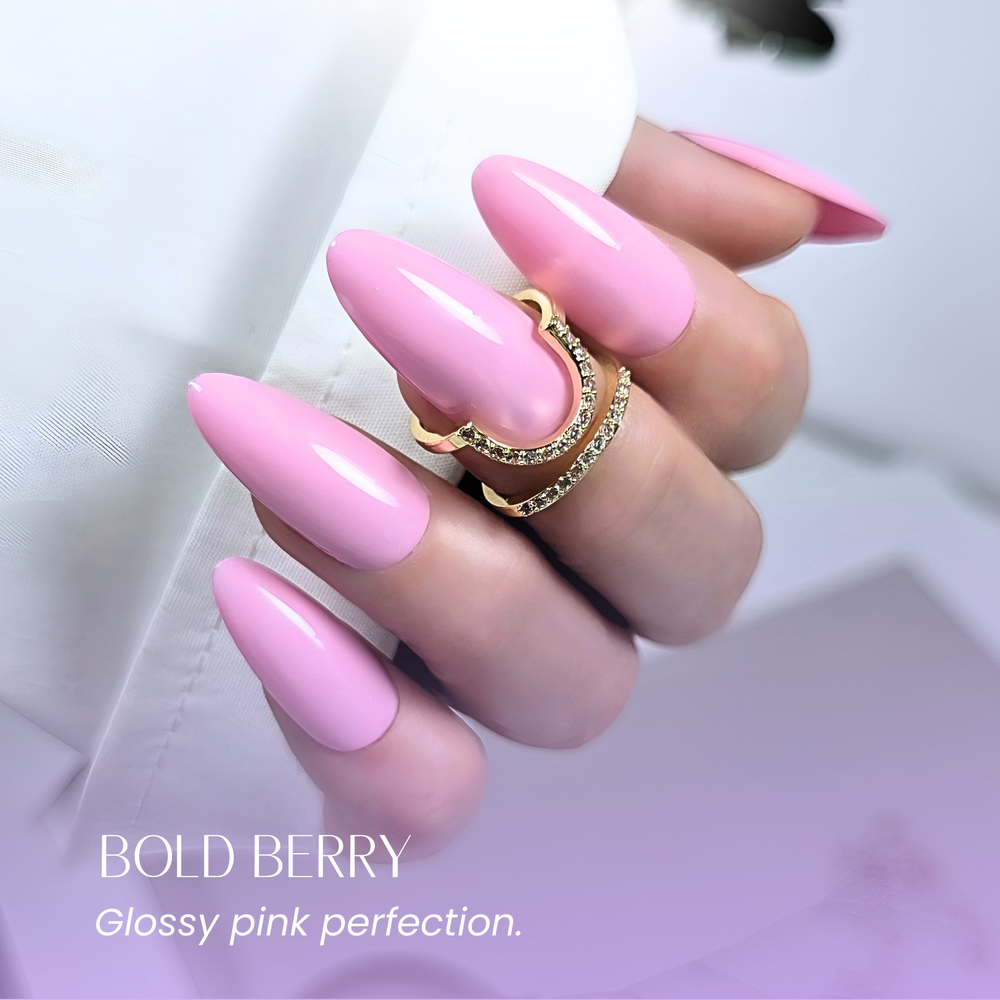
Step into a world of soft sophistication with Plum Paradise, a dreamy light plum-pink gel polish that strikes the perfect balance between sweet and elegant. This pastel-toned shade evokes the gentle charm of a spring blossom and the serenity of a dusky lavender sky, making it your go-to choice for both everyday wear and special moments.
Designed with a smooth two-coat consistency, Plum Paradise glides effortlessly onto the nail, providing a creamy, even coverage with high-shine results. Whether you're creating a full-color manicure or pairing it with delicate nail art, this versatile shade complements every style—from minimal chic to romantic elegance.
Like all White Diamond Nails gel polishes, 134 Plum Paradise is HEMA-Free, Cruelty-Free, and Vegan, ensuring a safer application and a guilt-free beauty routine. The long-lasting formula resists chipping and stays vibrant for weeks when paired with our base and top coat system.
Why You’ll Love It:
Soft light plum-pink tone with a glossy finish
Easy, even application in two coats
Pairs beautifully with spring pastels or nude tones
Long-lasting, salon-quality performance
HEMA-Free, Cruelty-Free & Vegan
Make Plum Paradise your next manicure obsession—because soft shades make the boldest statements.
Step 1: Preparation
Clean and Shape Nails: Begin by washing your hands thoroughly. Shape your nails with a file, pushing back your cuticles gently, and removing any excess skin.
Buff the Nail Surface: Lightly buff the surface of each nail to remove any shine. This helps the gel polish adhere better.
Cleanse the Nails: Use a lint-free wipe soaked in a nail cleanser or isopropyl alcohol to remove any dust, oil, or debris from the nails.
Step 2: Apply Base Coat
Apply a Thin Layer of Base Coat: Apply a thin, even layer of gel base coat to all nails, avoiding the cuticle and sidewalls.
Cure Under LED/UV Lamp: Cure the base coat under an LED lamp for 30 seconds or a UV lamp for 2 minutes. Make sure each nail is fully cured before moving on.
Remove the Sticky Layer: After curing, use a lint-free wipe soaked in nail cleanser or isopropyl alcohol to remove the sticky (dispersion) layer from the base coat.
Step 3: Apply Gel Polish Color
Apply the First Coat of Color: Apply a thin, even layer of your chosen gel polish color. Make sure the application is smooth and even.
Cure the First Coat: Cure under an LED lamp for 30 seconds or a UV lamp for 2 minutes.
Apply the Second Coat of Color: Apply a second coat for full coverage and depth of color. Ensure the application is even and smooth.
Cure the Second Coat: Cure again under the LED lamp for 30 seconds or a UV lamp for 2 minutes.
Step 4: Apply Top Coat
Apply a Thin Layer of Non-Wipe Top Coat: Apply a thin, even layer of gel top coat to seal in the color and add a high-gloss finish.
Cure the Top Coat: Cure under the LED lamp for 60 seconds or a UV lamp for 2-3 minutes. No need to remove any sticky layer, as this is a non-wipe top coat.
Step 5: Apply Cuticle Oil
Apply Cuticle Oil: Finish by applying a nourishing cuticle oil to keep your cuticles hydrated and healthy.
Step 6: Enjoy Your Long-Lasting Gel Manicure!
Subscribe to our newsletter
Be the first to know about new collections and exclusive offers.


